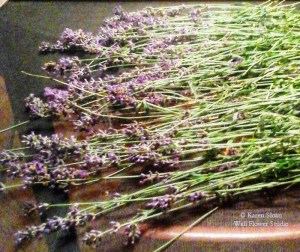
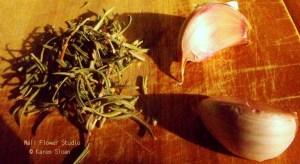
Some lavender from my garden in 2019
This post is (a typed version of) a Power Point Presentation I’d written several years ago. I created it as an introduction to Essential Oils, at a workshop I’d offered to a group here in Haliburton, Ontario.
Much of this presentation concerns the proper use of these chemicals, (because that’s what they are). They can have serious adverse affects on your health if used improperly.
The best practices of aromatherapy, with respect to essential oils should include knowledge and common sense.
 Though not the ‘miracle cure-all’ some might want us to believe, and actually classified as a pseudoscience, aromatherapy may be useful to induce relaxation, but there is not sufficient evidence to state essential oils effectively treat any condition! However, I feel aromatherapy can be a wonderful addition to in our feelings of well-being when you take into consideration the science behind the sense of smell.
Unfortunately, there’s much misinformation on the internet about essential oils, and claims by individual users and cosmetic manufacturers in general who make blatantly outrageous statements about what their products can do.
The fact is, there are no facts on any healing properties with essential oils.
There is no scientific or fact-based evidence to conclude that they reduce inflammation, fight infections, reduce wrinkles, or any other claim out there.
The information below is an attempt to help people stay safe. It’s to filter through some of the misrepresentations & unethical claims in a world that’s inundated with advertising and consumerism.
Making Sense of Scents – An introduction to essential oils
What is aromatherapy?
 Aromatherapy is a form of alternative medicine.
- “Aromatherapy” is an all-inclusive term, covering cosmetic, psychological, and medicinal effects
- Plant materials & aromatic plant oils are used for the purpose of altering one’s mood, cognitive, psychological or physical well being.
- Research has shown that aromatherapy may be effective in treating anxiety & depression through the use of scent by stimulating nerves linked to parts of the brain that control our emotions.
The smell from a flower stimulates the olfactory bulb. Olfaction is a part of the nose and brain associated with this, and it forms our sense of smell.
There’s a whole science behind it. Just think of the feeling you get from smelling an old-fashioned rose, a bunch of lavender, or fresh baked cookies!
Memory of Things Past… Smell and memory
Our sense of smell is closely linked with memory, more so than any of our other senses.
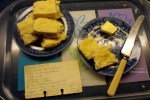
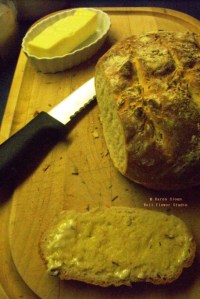
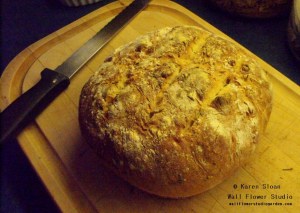
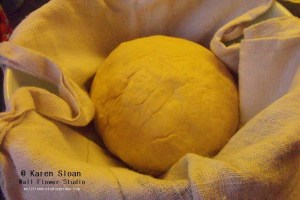
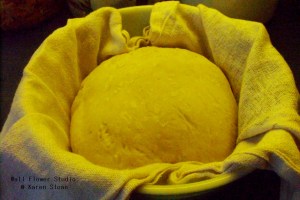
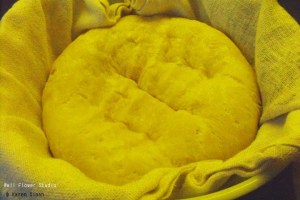
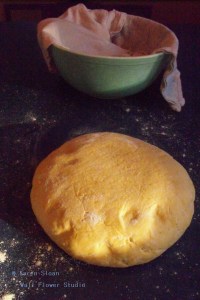
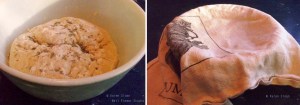
Cream scones
As I wrote previously a post about baking my mom’s scone recipe, and how their aroma took me back to her kitchen, scent can evoke particular memories; for example the scent of a flower in bloom can conjure vivid recollections of a positive childhood memory.
- So, scent can act as a trigger that recalls long-forgotten events or experiences.
- Scent, (known as odor information), is stored in our long-term memory banks. Whether it’s flowers, perfume or food, scent has strong connections to our emotional memories!
To be sure, the perfume and cosmetics industry have built themselves around this information!
Relationship between scent, pheromones & sexual response
On a personal level, smell is extremely important when it comes to an attraction between two people.
Take a gander at your partner! Looks may have been part of that initial attraction, but research has shown that our body odor, produced by the genes which make up our immune system, is a big part of the reason why we subconsciously choose our better half!
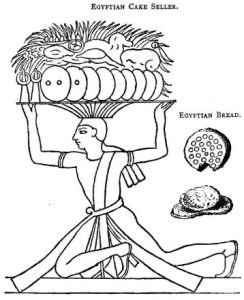
History of Aromatherapy & Essential Oils
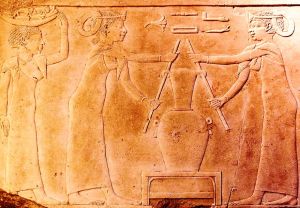
Egyptians preparing lily perfume, 4th century BC – Public Domain
Essential oils have been used for therapeutic, spiritual, hygienic & ritualistic purposes for at least six thousand years. Ancient civilizations, including India, China, Egypt, Greece, and Rome used them in their cosmetics, perfumes and drugs.
- Essential oils were commonly used for spiritual, therapeutic, hygienic, ritualistic & religious purposes.
- In fact, to “anoint” (Latin, inunctus “to smear with oil”) means making a person sacred and serve a higher spiritual purpose.
- E.O.s have been found in Egyptian tombs and they’ve been referenced often in the bible.
What are Essential Oils?
These oils are “Essential” in the sense that they contain the “essence of” a particular plant’s fragrance, and any of that plant’s characteristics from which it is derived.
- Essential oils are potent
- One drop of an essential oil is equivalent to 25-75 cups of the herbal tea of the same plant. (This varies according to the plant) This is where caution and common sense come in handy!
How are essential oils made?
These are three of the most popular methods.
 Steam Distillation: Plants are steamed under pressure. Oil is extracted and the remaining steam forms a hydrosol = floral waters
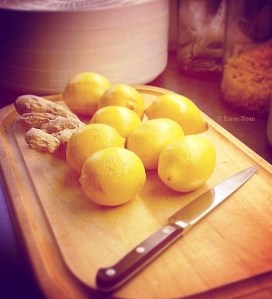
- Cold-Pressing: Used for citrus essential oils. Citrus rinds are mashed in water. The oil released is separated from the pulpy water & collected as an essential oil.
- CO2: Liquid CO2 is combined with plant matter, then the CO2 is turned back into a gas, leaving the plant matter and essential oil behind. This is the preferred method of extraction for many manufacturers.
My List of Essential Oil Best Practices
 Know your source!
- Buy from a reputable retailer, online or off!
- Reputable companies properly label, bottle & package oils for sale & shipment.
- Avoid : “fragrance oil”, “nature identical oil” & “perfume oil” – Not pure & very likely synthetic
- Avoid vendors who are vague, fly by night, or seem to know very little about their products.
- Ask questions: Test their knowledge
Safe handling of oils
 Always read & follow all label cautions and warnings
- Keep out of reach of children and pets
- NEVER use on babies
- NEVER use on cats (will cause liver damage if ingested. Cats will lick it off themselves)
- Do not ingest essential oils – NEVER take them internally
- Keep away from flame, heat and ignition sources – essential oils are flammable
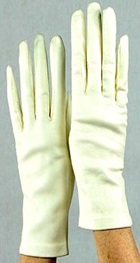
- Use latex gloves and protective glasses when handling essential oils.
- Keep essential oils out of eyes, ears, nose, mouth or any body opening
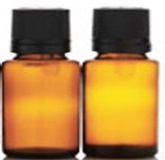
Safe storage
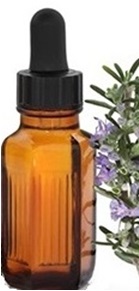
- Store Oils in Glass bottles away from direct sunlight – Amber & cobalt glass are equally effective for blocking out damaging sunlight.
- Keep Bottle Caps Tight – Oxygen is the enemy to oils.
- Store them in a Dry, Cool Location
- Keep a Record of the Date Purchased and Expected Shelf Life of Each Oil
- Remember That Oils are Flammable (hence the dry cool location).
- Keep Oils Away from Children & pets (I can’t stress this enough
Possible reactions – Safety first!
- PHOTOSENSITIVITY – Some essential oils are photosensitive. These essential oils are sensitive to
 sunlight. When they’re are applied to the skin they can cause a rash or burn when it’s exposed to sunlight.
- If you’re going to use them, it’s advisable to avoid sun exposure for 24 – 48 hrs after use.
Examples: Citrus e.o. especially -> Ginger, Grapefruit, Lemon, Mandarin, Orange, Bergamot, Lime, Cumin & more…
- ALLERGIES – People with skin allergies should do a test before extensive topical use of any oil.
- Eyes & Ears – All essential oils need to be kept away from here!
- Avoid prolonged use of the same essential oils which may lead to skin sensitivity and future allergic reactions
Who shouldn’t use essential oils?
 People with sensitive skin, epilepsy, heart or kidney problems.
- Cancer patients or those with other serious medical conditions/treatments.
- Use only with the advice of a physician or licensed medical professional
- Pregnant women, or those breastfeeding should avoid using essential oils, and many herbs altogether.
- Babies, young children, and pets.
Don’t believe everything you read. (Even from me!)
Hype, Marketing, and Misleading information
- Always do some research first. When I’m looking into any topic, I locate information from at least 3 sources, and not from some no name website like mine, but from well known medical institutions or universities.
Pleasant odors can be enjoyable and may enhance people’s efforts to relax. However I say again, there is no factual evidence that aromatherapy products provide any of the (sometimes extreme) health benefits sometimes claimed by some proponents and manufacturers.
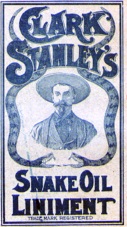
Essential oils can be considered Snake Oil
False claims abound! Somethings in life never change, and the essential oil industry is no different. Remember that old adages: -> If something sounds too good to be true, it likely is.
For example:
 Claims have been made by companies who have in the past promoted their e.o. products as a cure for these:
- Cancer, Ebola, Alzheimer’s, erectile dysfunction, Aids & more!
This is completely unethical, and in some cases illegal, which led to the FDA sending them all warning letters.
These companies include some of the biggest names in the essential oil business. If you’d like to search for some of them, here is a great place to start. A link to very public information on the FDA’s website
My point is, be a skeptic, (Caveat Emptor) because:
- There are international standards from country to country, but there is no governmental body anywhere in the world who legally regulates the grading of essential oils.
- Avoid suppliers who promote their essential oils as ‘Therapeutic grade‘ or ‘Aromatherapy grade‘. Purely done for packaging and marketing purposes, as (above) there is so such categorizing of essential oils.
- In a world of plagued with consumerism & mass marketing, education and common sense are the best ways consumers can protect themselves against false, or dare I say, trumped up claims.
Use Carrier Oils – Always dilute!
- Carrier oils are pressed from plants, fruits and nuts. (Olive & avocado oils are my favourite).
- Essential oils need to be diluted in these vegetable oil bases because they decrease the volatility of an essential oil
- Carrier oils also offer better skin absorption
Recommended vegetable oils for dillution include:
- Olive, Avocado, Safflower, Argan, Hazelnut, Grape seed, Sunflower seed, Evening primrose, Borage seed, Jojoba, Coconut oil & more… They’re the oils we use for cooking!
- Carrier oils should be stored away from heat & light to ensure freshness.
- The addition of Rosemary Oleoresin Extract is the best way to extend shelf life of a botanical oil, along with Vitamin E, which is an excellent anti-oxidant.
- Make small batches – they can be used within a shorter time frame which means less chance of rancidity.
Blending Information – a guideline
Oils are diluted in a carrier oil for use in massage oils, along with diffusers, atomizers, & humidifiers for aromatherapy. (Along with using them in my products for scent, I like to heat oil in a diffuser over a candle, or smudge with them and burn them as incense).
- 1% dilution: approximately 6 drops essential oil per ounce of carrier oil
- 2% dilution: approximately 12 drops essential oil per ounce of carrier oil
- 3% dilution? There is no need for this much.
- Remember: Less is more with any essential oil.
Aromatherapy is so much more than essential oils
Follow your nose! There are other ways to experience aromatherapy:
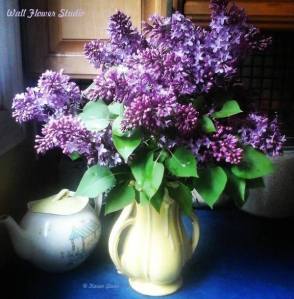
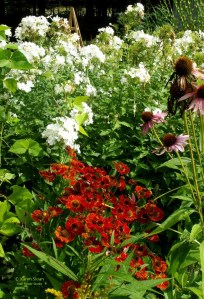
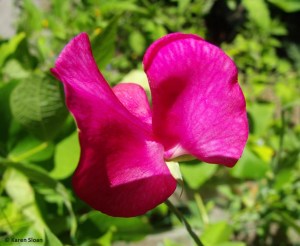 Fresh cut flowers from your garden or local florist
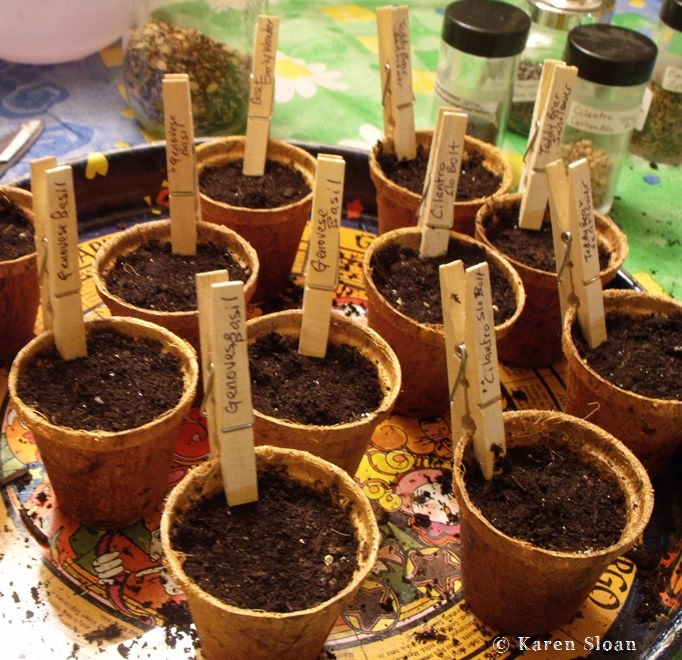
- Drink herbal tea – Mint or chamomile from your garden!
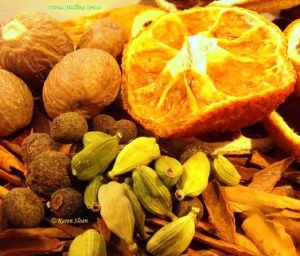
- Pot Pourri – Dried flower petals, herbs & spices
- Scented candles (non paraffin wax)
- Herbal and floral infused vegetable oils – Easy to DIY at home
- Floral waters – Some of these hydrosols like rosewater are great for use in some recipes
- Drawer sachets & pillows – Always at hand. Dried lavender is great for sleeping
- Smudging with herbs
- Simmering ingredients on the stove – citrus, apple, spices, all generally found in most kitchens.
- Scented soaps & skincare
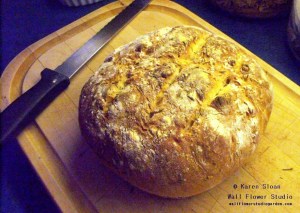
- Do some baking
Favourite scents
 Did you know?
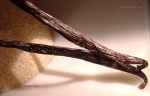
Vanilla still ranks as the most beloved scent & flavour in the world, according to statistics.
Some of my favourite aroma blends
 Orange, clove & cardamom
- Lemon & mint
- Lavender & sage
- Rosemary & Bergamot
- Lemongrass & Tea tree
- Ginger & lemon
My Blending Categories
- Floral blends with spicy, citrus, and woodsy
- Woodsy blends well with all categories
- Spicy and oriental oils blend with floral, oriental, and citrus.
- Minty oils blend with citrus, woodsy, herbaceous, and earthy
I hope this helps anyone who is interested in practicing aromatherapy and the use of essential oils.
Have fun, stay safe, and stop to smell the roses once in a while! ~ Karen

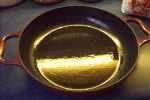
 1.5 cups of water (temperature of that water should be between 105F – 110F to interact with yeast. (I ran water from the tap over the thermometer to get the correct temp.)
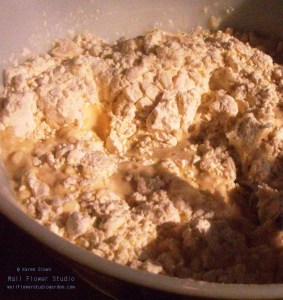

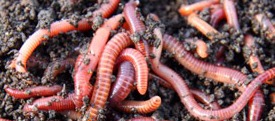 When it comes to vermicomposting, earthworms will do the ‘dirty’ work for you.
 Castings are also rich in humic acids. This soil conditioner offers a perfect pH balance. It contains plant growth factors similar to seaweed. What could be better for your garden?
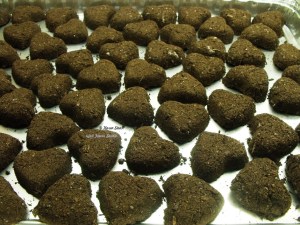
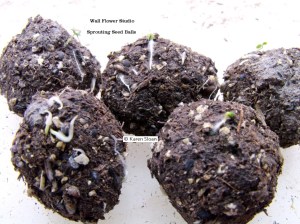
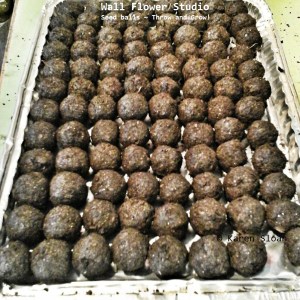
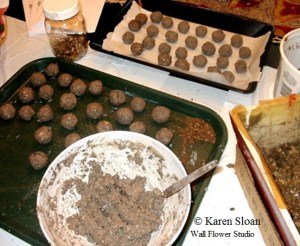
 Next step is to add water. Not too much, or too quickly, but enough to make the mixture damp. Stir it in slowly. If the mix is too dry, it won’t hold together so add a bit more. If the soil and clay become overly wet, the seeds will sprout before your finished seedballs get a chance to dry, which means you can’t store them to use at a later date. If the clump holds together, but won’t ooze water if you squeeze it, then that’s the perfect consistency.